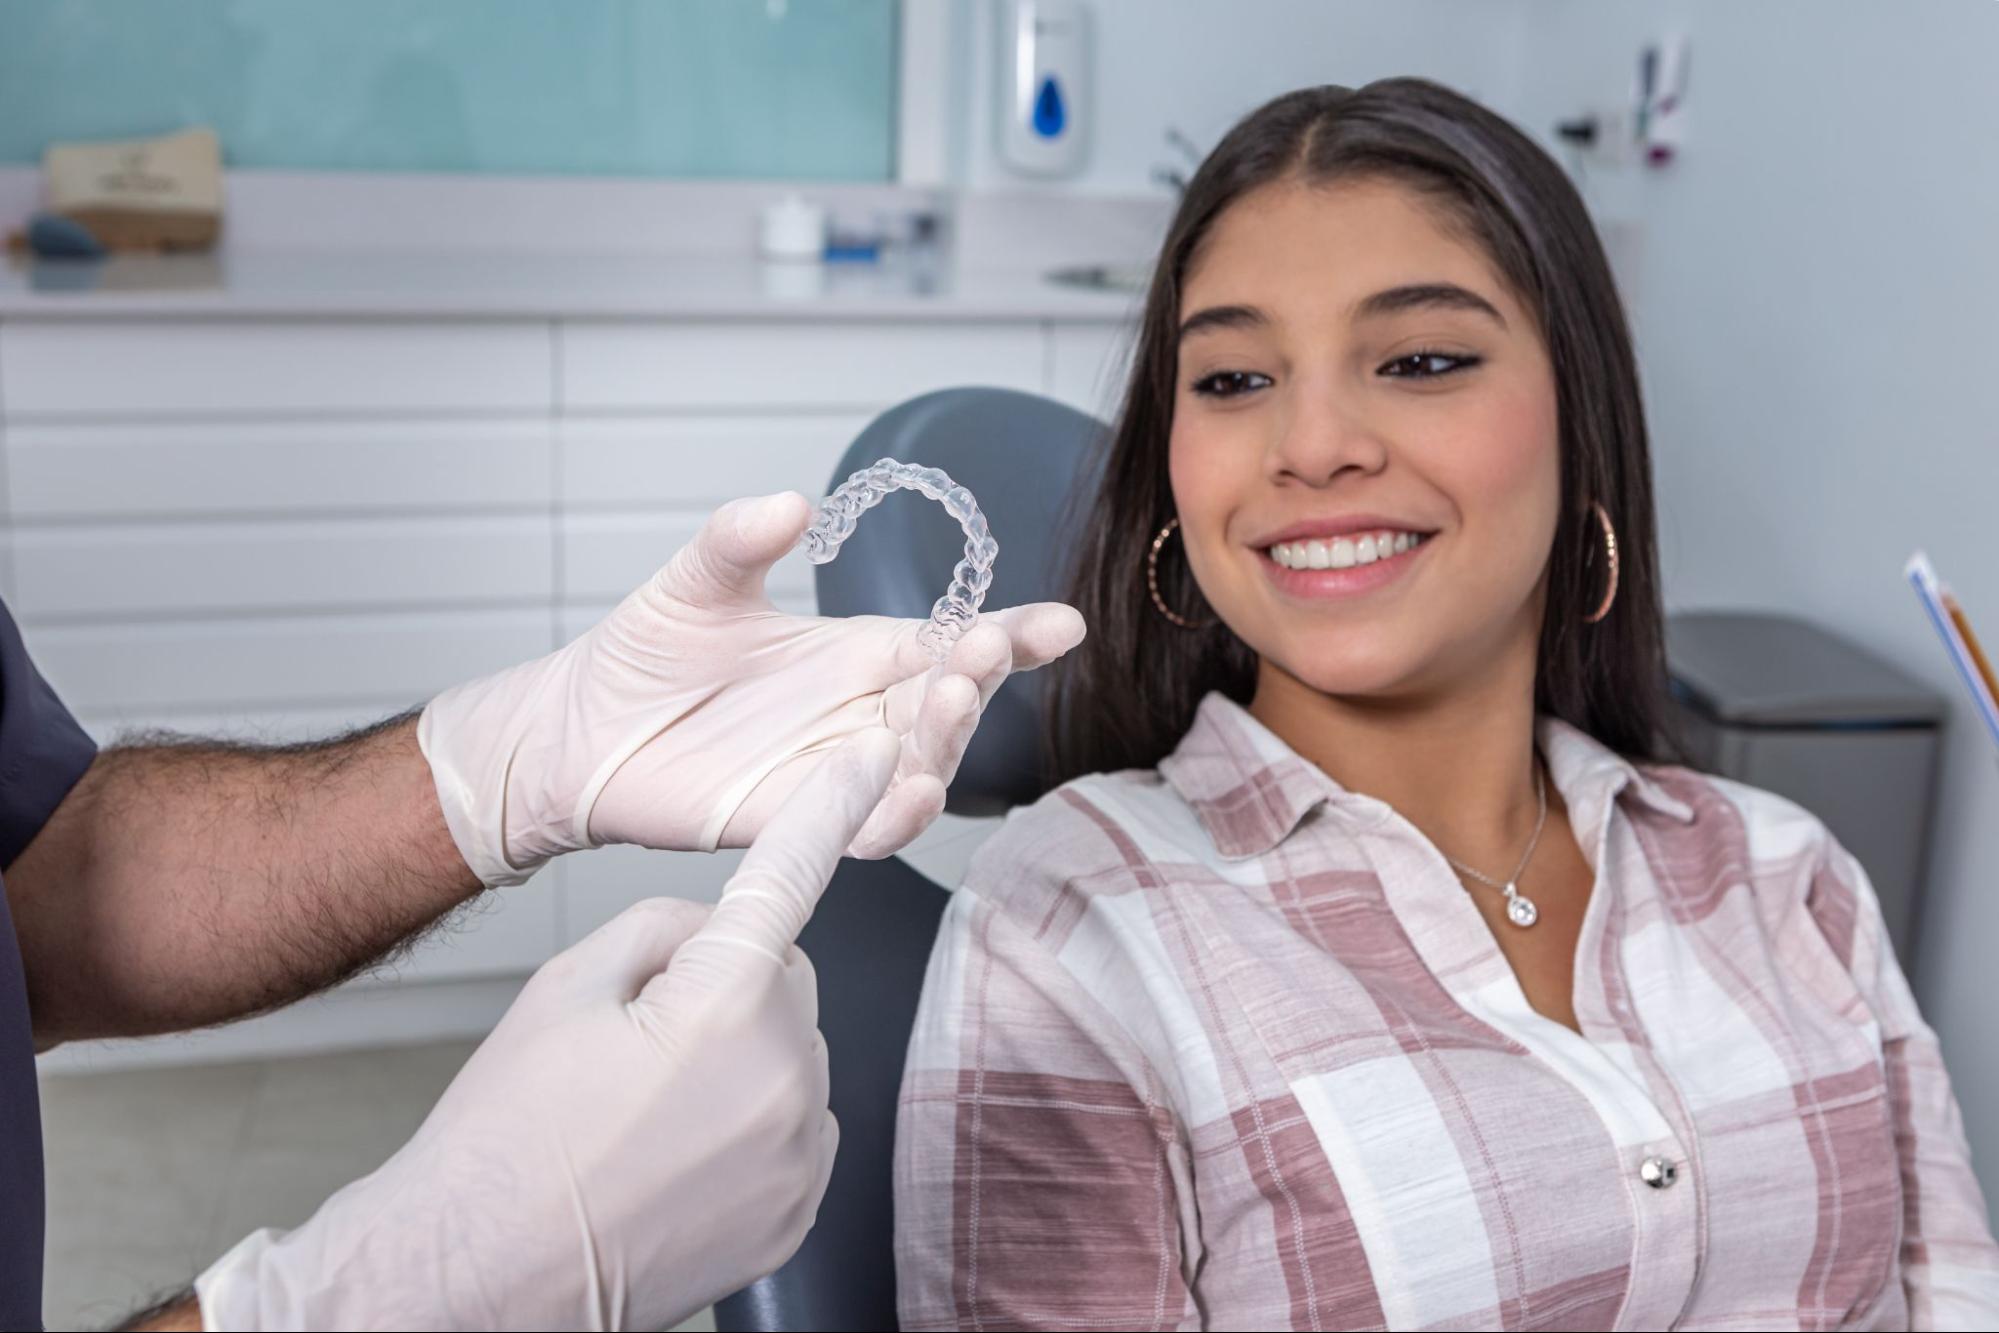
The process of getting fitted for custom clear aligners is more approachable than most people expect. Custom clear aligners are transparent, removable trays designed from a digital model of your teeth to gently shift them into a straighter position over time. Every step is guided by a trained orthodontist from start to finish.
Here’s the short version. You’ll have a first visit, a quick digital scan, a custom treatment plan review, a fitting appointment with attachment placement, regular check-ins, and finally retainers. Most of our patients at Byrne Orthodontics receive their first tray within about two to six weeks after their scan.
Below, we’ll walk through all seven steps so you know exactly what to expect. Dr. Byrne, DMD, MS, and Dr. Pinckney, DMD, want you to feel prepared and in the loop before your first visit, so this guide covers what actually happens at each stage.
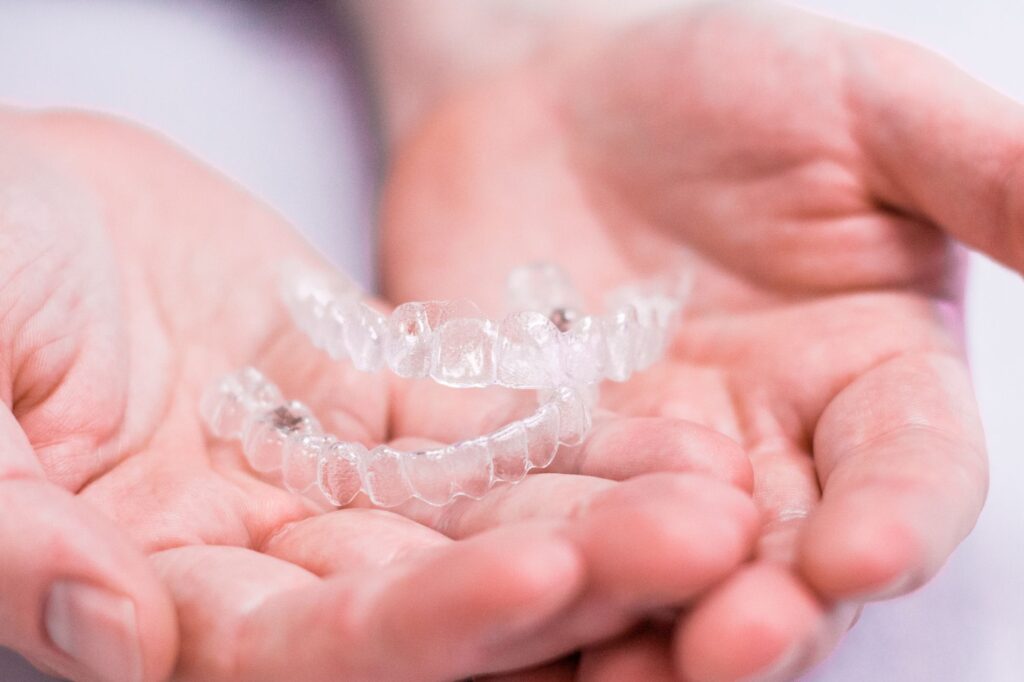
What Happens at the Initial Clear Aligner Consultation?
Your first visit is all about getting to know you and your smile goals. During this appointment, your orthodontist performs a thorough dental exam, takes digital X-rays, and captures intraoral photos to get a full picture of your teeth, bite, and jaw alignment.
You’ll talk through your goals, your medical and dental history, and any concerns you’ve been sitting with. Your orthodontist then evaluates whether clear aligners like Invisalign are the right match. Cases involving mild to moderate crowding, spacing, or bite issues are often excellent candidates. More complex cases may benefit from a different approach, and you’ll get honest guidance either way.
If you’re still deciding between clear aligners and traditional braces, your orthodontist can walk you through the differences during this same visit.
What to bring to your first visit:
- A list of questions or concerns
- Insurance information (if applicable)
- Any prior dental records or referrals
- A photo ID
One important difference: in-office professional evaluation at our Saratoga Springs and Greenwich offices gives you a hands-on assessment with imaging and clinical judgment. Mail-order aligner kits skip that step. Direct supervision from an orthodontist generally means safer tooth movement and better long-term outcomes than an unsupervised, mail-order approach.
Ready to get started? Schedule your free consult today and see if clear aligners are your perfect fit.
Step 2: Digital 3D Scanning and Imaging
No, clear aligners don’t require messy putty impressions anymore. Instead, we use a small handheld wand called an intraoral scanner, like the iTero or 3Shape system, to build a precise 3D model of your teeth in just a few minutes.
Here’s how it works. Your orthodontist glides the scanner around your mouth while a computer stitches thousands of images together in real time. You can actually watch your smile appear on the screen as it’s being scanned. The whole process usually takes about five to ten minutes, and there’s no goop, no gagging, and no waiting.
Digital scans are more comfortable, more accurate, and dramatically faster than the traditional method. Once the scan is complete, you’ll see an instant 3D preview of your teeth, which becomes the blueprint for your entire treatment.
Step 3: Custom Treatment Plan Design
Next, your scan is loaded into planning software like ClinCheck. Using that digital model, Dr. Byrne and Dr. Pinckney design a personalized treatment plan mapped out tooth by tooth, planning each movement in stages so you can see exactly how your smile will shift over time.
You’ll see a before-and-after simulation of your projected results before treatment even begins. That preview shows you the starting point, the finish line, and every step in between. Your estimated treatment length is based on how many movements are needed and how complex your case is.
Before anything is manufactured, you review and approve the plan together with your orthodontist. If something feels off or you want to adjust a goal, this is the time to speak up. Nothing moves forward without your green light.
Step 4: Manufacturing Your Custom Aligners
Once your plan is approved, your digital file heads to the lab where your aligners are made. This typically takes about three to four weeks from approval to delivery.
Each tray is either 3D printed or thermoformed from smooth, medical-grade plastic. The lab uses your unique 3D model to fabricate a series of aligners, with each tray slightly different from the last to guide your teeth stage by stage.
Quality checks happen before your trays leave the lab. Depending on your case, your full series may arrive at once or in smaller batches so your orthodontist can monitor progress along the way. Lab precision matters here. Well-made aligners fit snugly and move teeth predictably, which is why professional oversight makes such a difference.
Step 5: Your Fitting Appointment and Attachment Placement
When your aligners arrive, you’ll come in for your fitting visit at our Saratoga Springs or Greenwich office. This is often the appointment our patients look forward to most because it’s the moment your treatment officially begins.
Most clear aligner plans use small tooth-colored bumps called attachments (sometimes called buttons). These are bonded to specific teeth to give the aligners something to grip, which helps the trays move each tooth precisely where it needs to go. The bonding process is comfortable and typically takes 30 to 60 minutes. There’s no drilling, no numbing, and no soreness afterward.
Your orthodontist then shows you how to insert and remove the trays properly, and you’ll practice a few times before leaving.
Signs your aligners fit correctly:
- Trays sit flush against your teeth with no visible gaps
- Edges feel smooth, not sharp or rough
- You can bite down without the aligners shifting
- Speech feels close to normal within a day or two
How to prepare: eat before your appointment, bring a water bottle, and plan for about an hour in the chair.

Step 6: Wearing and Transitioning Between Aligners
Here’s the golden rule of clear aligner success: wear your trays 20 to 22 hours per day. That means aligners stay in during work, school, and sleep. You only remove them to eat, drink anything other than water, and brush.
You’ll switch to a new tray about every one to two weeks, depending on your personalized treatment plan. Each new set continues the gentle progression toward your final smile.
A few daily habits to keep in mind:
- Remove aligners before eating or drinking colored beverages
- Rinse trays with cool water and brush them gently
- Brush and floss before putting aligners back in
- Store them in your case when they’re not in your mouth
Mild soreness or pressure is normal during the first day or two of a new tray. It’s a sign your teeth are moving as planned, and it usually fades quickly.
Step 7: Follow-Up Visits and Refinements
You’ll see your orthodontist for check-ins every six to eight weeks. These visits are quick, and they let Dr. Byrne and Dr. Pinckney confirm your teeth are tracking with the plan.
Sometimes teeth need a little extra guidance to reach the finish line. That’s where refinements come in. Refinements are additional aligners created from a new scan near the end of treatment to polish your final result. Most cases include this option, and it’s a normal part of getting your smile exactly right.
Once your active treatment is complete, you’ll transition to retainers to lock in your beautiful and healthy smile. Retainers protect all the work you’ve done and are the key to lasting results.
How Long Does the Entire Fitting Process Take?
Every smile is unique, but the full process typically takes 2 to 6 weeks from scan to first tray, with active treatment lasting 6 to 18 months. Here’s a realistic timeline of what to expect from your first visit to your first tray, and beyond.
| Stage | Typical Timeframe |
|---|---|
| Free consult to digital scan | Same day or 1 to 2 weeks |
| Scan to aligners in hand | 2 to 6 weeks |
| Fitting appointment | About 1 hour |
| Active treatment | 6 to 18 months on average |
| Retainer phase | Ongoing, long-term |
Total treatment length depends on how much movement your teeth need and how consistently you wear your trays.
Tips for a Smooth Clear Aligner Fitting Experience
A little preparation goes a long way. Use these tips to make your treatment go smoothly from day one.
- Ask questions and review your 3D simulation carefully before approving your plan.
- Practice inserting and removing your aligners in the office before you leave.
- Set phone reminders for tray changes and daily wear time.
- Keep your aligner case with you at all times, and never wrap trays in a napkin.
- Maintain excellent oral hygiene by brushing after meals and flossing daily.
Stick with these small routines and the day-to-day of treatment gets a lot easier.

Frequently Asked Questions
Does getting fitted for clear aligners hurt?
No. The scanning and fitting appointments are comfortable. You may feel mild pressure or soreness for a day or two when you switch to a new tray, which is a normal sign your teeth are moving.
Can I get clear aligners without a consultation?
A professional consultation is essential for safe, predictable results. Your orthodontist needs X-rays, photos, and a clinical exam to design a treatment plan that protects your teeth and bite.
How is professional fitting different from mail-order aligners?
Professional fitting includes in-person exams, imaging, custom planning, attachment placement, and regular check-ins with your orthodontist. Mail-order kits skip most of these steps, which can lead to unpredictable movement or missed dental issues.
What happens if my aligners don’t fit correctly?
Contact your orthodontist right away. Small tracking issues can often be corrected by wearing your current tray longer or using chewies. Larger fit issues may call for a quick refinement scan.
Do I need retainers after clear aligner treatment?
Yes. Retainers keep your teeth in their new positions and are essential for maintaining your results long term. Your orthodontist will recommend a retainer style that fits your lifestyle.
If you’re ready to explore whether clear aligners are your perfect fit, Dr. Byrne and Dr. Pinckney would love to meet you at Byrne Orthodontics in Saratoga Springs or Greenwich. Schedule your free consult to take the first step toward beautiful and healthy smiles that last.